How to Animate Photos for YouTube Documentary Videos
Turn flat historical photos and static pictures into cinematic scenes without spending forty hours inside complex software.

If you want to know how to animate photos for YouTube documentary edits, start with simple depth. Cut your subject out, push the background behind them, and move a virtual camera between the two layers.
Viewers click away when an image sits completely motionless for six seconds. Giving that still image subtle breathing room keeps their eyes on the screen while your voiceover tells the story.
Why Still Photos Freeze YouTube Watch Time
A still picture is great in a book. On YouTube, a frozen frame feels like the video paused itself. The viewer starts wondering if their Wi-Fi crashed.
You do not need Disney animation skills to fix this. You only need motion that mimics human eye movement.
When you look at a photograph in real life, your eyes dart between faces, objects, and tiny details. Adding gentle movement does that work for the viewer.
Step 1: The Classic 2.5D Parallax Cutout
The 2.5D parallax effect is the backbone of modern documentary editing. It turns one flat picture into a shallow 3D shoebox.
First, bring your photo into any image editor. Cut out the main subject with a lasso or pen tool. Save that person or object as a transparent PNG.
Second, remove the subject from the original background image. Use content-aware fill or clone stamp to patch the empty hole left behind. Nobody will notice if the patched wall looks slightly blurry.
Third, place both images on your video timeline. Put the cutout subject on top and the patched background directly underneath.

127 views on a channel with 2 subscribers, 1.3 times its size.
In this tutorial from Vijay Sharma, which picked up 127 views on a channel with 2 subscribers, you can see how 3D camera tools place these cutouts into virtual space inside DaVinci Resolve.
How to Animate Photos for YouTube Documentary Pacing
Once your layers are stacked, animating them is a matter of basic geometry. Things closer to the camera move faster than things far away.
Scale your foreground subject up by five percent over four seconds. At the same time, scale your background up by only two percent.
This small difference creates instant depth. Here are three standard camera moves you can build in two minutes:
- The Slow Push: Foreground scales from 100% to 106%, background scales from 100% to 102%.
- The Subtle Drift: Subject shifts twenty pixels left, background shifts eight pixels right.
- The Forensic Scan: Camera pans slowly across an old document while zooming into a highlighted line.
Always turn on motion blur in your software settings. Without motion blur, sliding layers look like cheap computer windows moving across a monitor.
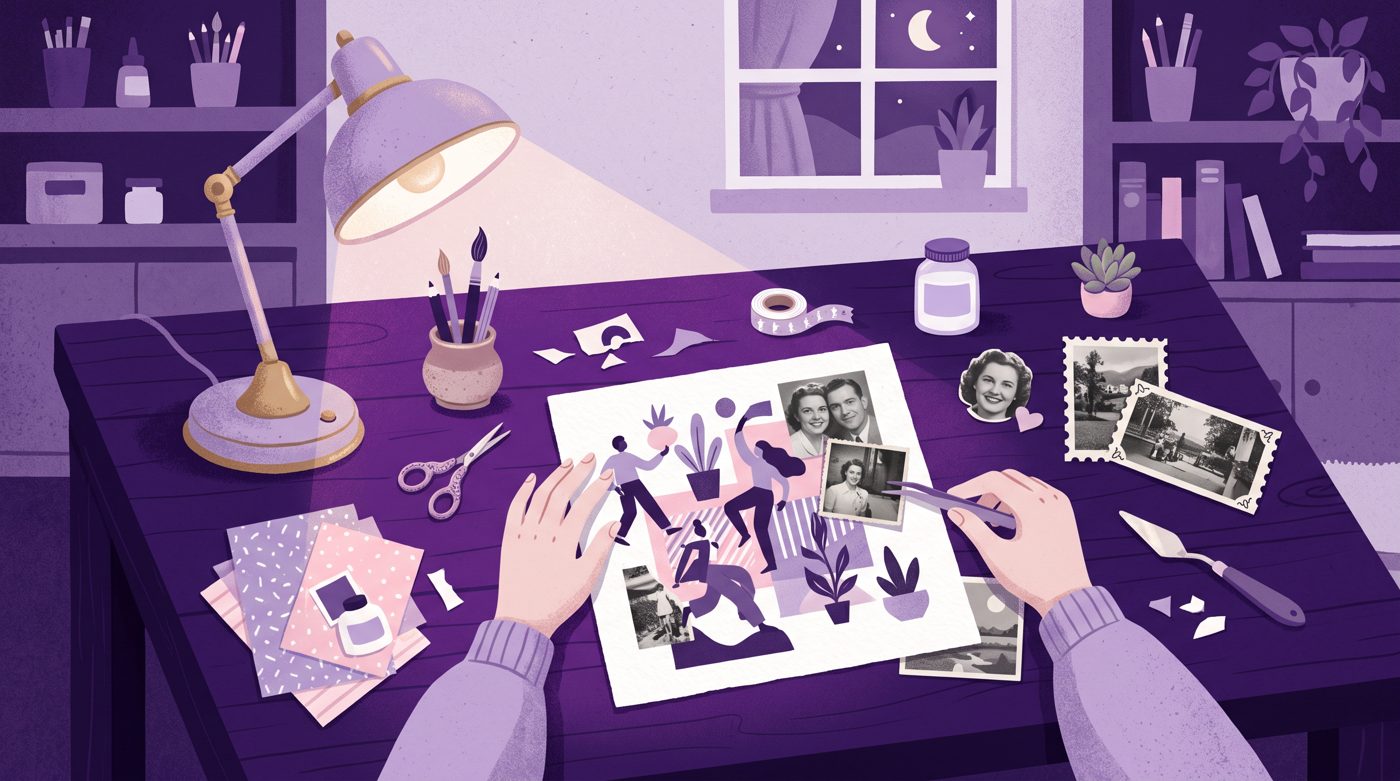
Adding Texture: Film Grain, Dust, and Paper Borders
Clean digital photos can feel lifeless in a historical or true crime video. Texture glues all your separate elements together.
Drop a free 35mm film grain overlay on a track above your animation. Set the blend mode to Overlay or Soft Light and pull the opacity down to thirty percent.
Next, add a gentle paper or canvas texture over archival pictures. The rough paper tooth breaks up modern digital gradients and hides low-resolution scans.
You can also add a subtle white torn paper border around your subject. Channels like Vox use this technique so cutouts look intentional instead of accidental.

16,338 views on a channel with 5,260 subscribers, 3.1 times its size.
Mustapha Edits created a breakdown of this editorial look, earning 16,338 views on a channel with 5,260 subscribers. Notice how paper textures and simple shadow drops elevate basic scans.
Three Animation Tricks for Fast Timelines
Spending forty minutes cutting out fingers on every single photograph will ruin your weekend. Use faster shortcuts on secondary scenes.
- The Ken Burns Upgrade: Scale the image slowly, but add a continuous hand-held camera shake effect on top.
- The Polar Stamp: Slap a white frame around the photo, rotate it four degrees, and drop it onto a textured dark background with a deep shadow.
- The Masked Slide: Use a simple linear wipe to reveal historical maps or letters as your voice mentions them.
Good visuals only do half the work. Pair every picture slide with a tactile paper rustle or camera click, following our guide on how to do sound design for YouTube videos.
Transforming public archive files with your own animation also protects your channel. It keeps your uploads clear of automated flags, as explained in our guide on how to avoid reused content on YouTube.

Managing Production Speed on Big Projects
A ten-minute documentary essay often requires forty to sixty individual visual assets. Animating every single image by hand is exciting on Monday and exhausting by Thursday.
Build animation presets in your editor. Save your favorite slow zoom and camera drift so you can drag them directly onto fresh clips.
When building dozens of illustrated scenes feels overwhelming, you can also use Naravid to generate narrated and animated video scenes directly from your script.
Reserve your high-effort 2.5D parallax cutouts for the critical emotional beats of your story. Use simpler texture drifts for transitional points.
Useful links
- YouTube Creators ChannelOfficial production advice and updates directly from the YouTube creator team.
- DaVinci ResolveFree professional editing software equipped with robust 3D camera fusion tools.
- r/NewTubers CommunityA supportive forum where emerging creators exchange workflow tips and feedback.
- Canva Background RemoverA quick web browser tool to separate subjects from photo backgrounds in seconds.
Questions people ask
What software is best for animating photos for documentaries?
DaVinci Resolve and Adobe After Effects are the most popular choices because they support true 3D camera workspaces. Beginners can also use CapCut or Premiere Pro for simpler 2D scale and position zooms.
How do you fill the background after cutting out a subject?
Use the clone stamp tool or content-aware fill feature in Photoshop, Photopea, or GIMP. You do not need perfection because the foreground subject will cover most of the patched area anyway.
How long should an animated photo stay on screen?
Keep most photo animations between three and five seconds. If a piece of narration requires ten seconds on one topic, cut to a closer detail or crop rather than holding one static zoom.