How to Record Voiceover for YouTube at Home
You do not need a three-hundred dollar microphone or a sound booth to sound crisp on YouTube. Here is how to get studio quality from your bedroom.
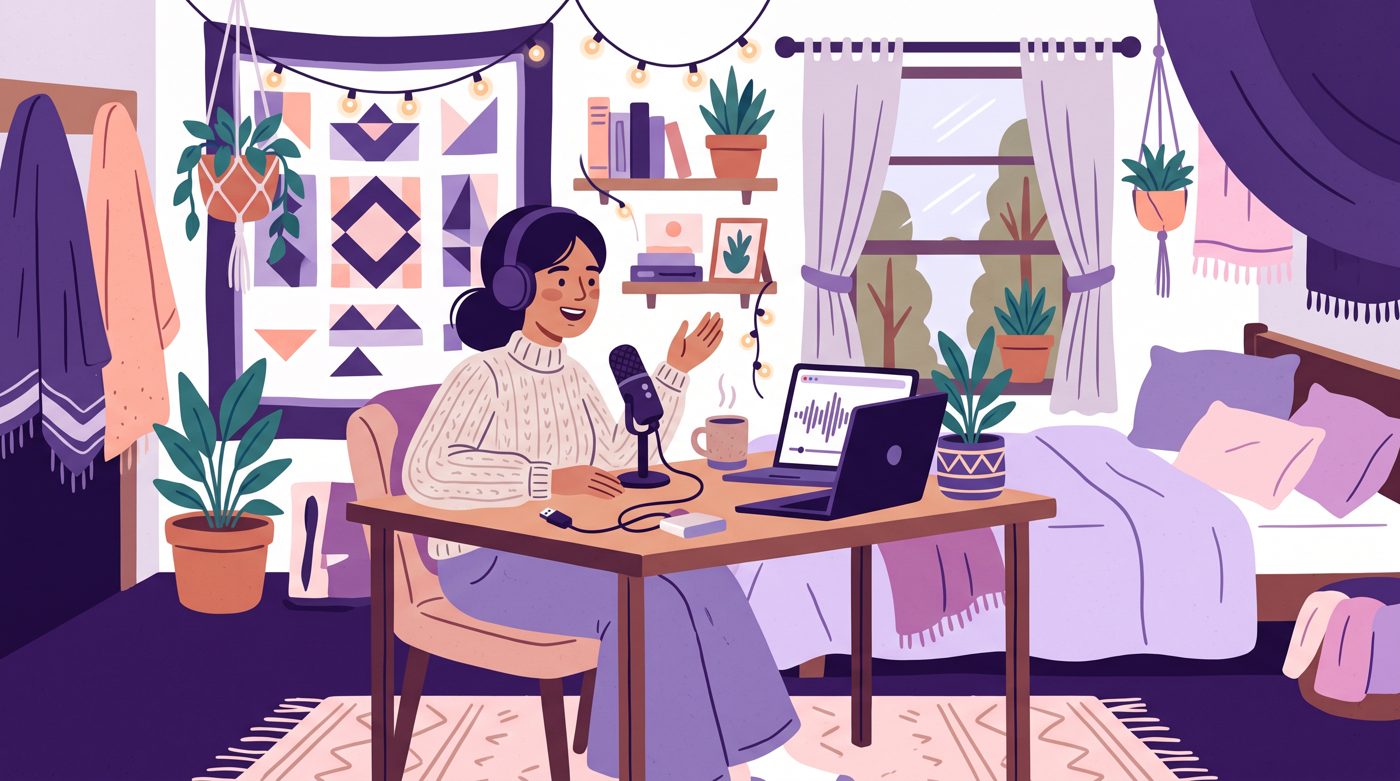
If you want to know how to record voiceover for youtube at home, the secret is surprisingly simple. Good sound comes from your recording environment and mic distance, not from spending half your rent on audio gear.
Most viewers will forgive a video with simple graphics. But if your voice sounds like you are shouting from the bottom of an empty ceramic bathtub, they click away within five seconds.
The Gear You Actually Need (Under $60)
Do not buy an XLR microphone with an audio interface when you are just starting out. You will end up with three extra cables, driver updates that break every Tuesday, and a lighter wallet.
A simple USB microphone plugs straight into your computer or phone and works immediately. There are several great options that cost less than sixty dollars:
- Samson Go Mic: tiny, clips to your laptop, and produces clean voice recordings.
- Fifine K669B or AmpliGame A6V: affordable, sturdy metal build, and includes a small tripod stand.
- Audio-Technica ATR2100x-USB: dynamic mic that ignores background room noise very well.
- A foam windscreen or cheap mesh pop filter: stops harsh bursts of air from popping your microphone.
If you currently have zero dollars, your modern smartphone voice recorder app held four inches away from your mouth sounds better than a cheap headset mic. Start with what you own.
How to Record Voiceover for YouTube at Home Without Echo
Bare walls, glass windows, and hard floors reflect your voice like a mirror reflects light. That annoying hollow flutter you hear on bad recordings is just your own voice bouncing off drywall.
You do not need expensive acoustic foam tiles glued to your wallpaper. You just need soft things that absorb sound waves before they bounce back into the capsule.
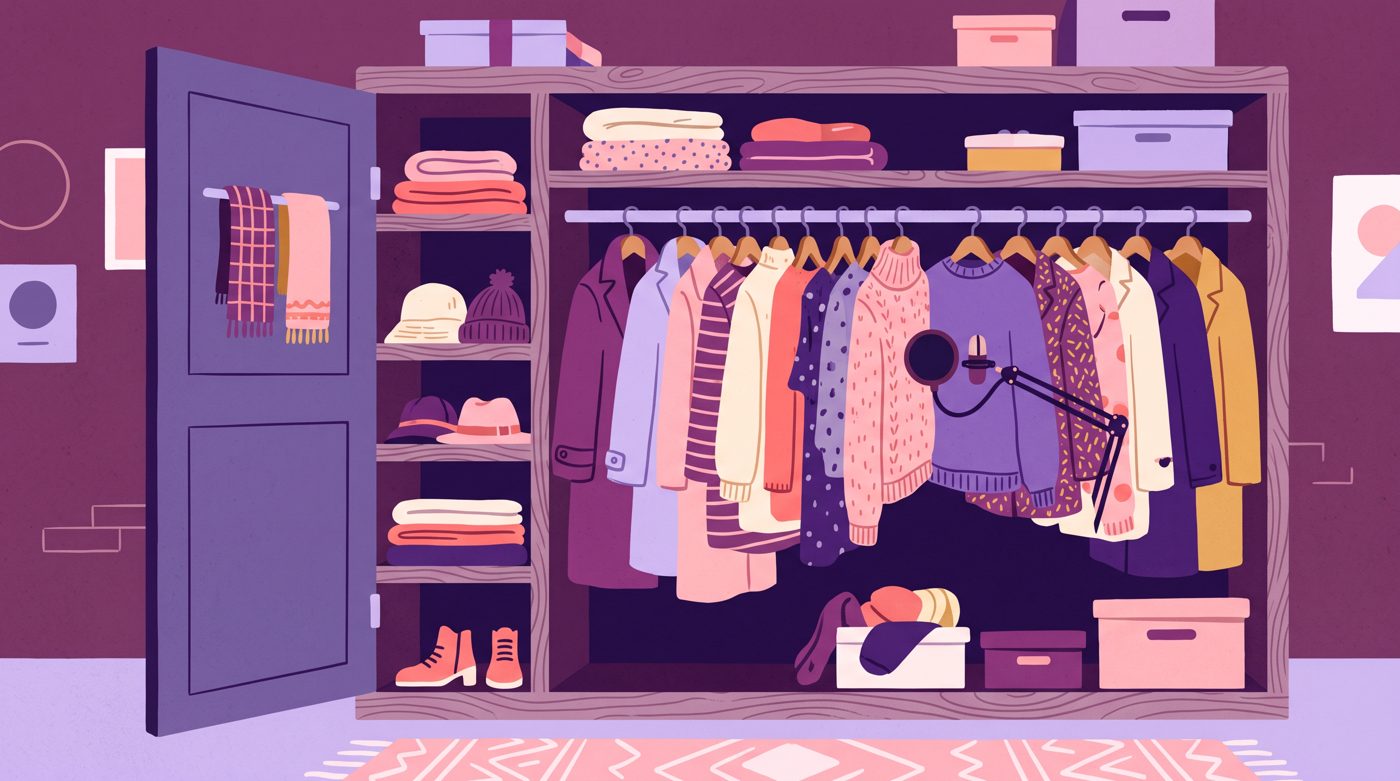
Here are three proven spots in an ordinary house that sound shockingly professional:
- Inside your clothes closet: speak directly into a rack of winter jackets and sweaters.
- Under a heavy blanket: drape a duvet over your head and laptop like an audio tent.
- Facing a bookshelf: books at irregular depths scatter sound waves and kill harsh slapback echo.
Microphone Technique: Distance and Angles
Microphone technique is free, yet it makes a fifty-dollar mic sound like a four-hundred-dollar broadcast tool. Most beginners make the mistake of sitting two feet away from the desk.
When you sit too far away, you have to turn the microphone volume gain way up. That gain boosts every dog barking outside and every creak in your computer chair.
- Keep the mic four to six inches from your mouth, about the length of one hand spread wide.
- Angle the mic toward your cheek or chin instead of pointing it directly at your lips.
- Use a foam pop filter to catch heavy 'P' and 'B' consonant blasts.
- Set your recording input level so your loudest words peak around -12dB to -6dB, never hitting 0dB.
Angling the microphone slightly to the side gives you a warm radio tone while keeping puffing breath noises off the capsule entirely.
Real Channels Thriving with Simple Voiceovers
You do not need a Hollywood soundstage to capture tens of thousands of viewers. Many creators build huge audiences simply by delivering clear, calm voiceovers over visuals.

379,457 views on a channel with 12,100 subscribers, 31.4 times its size.
Take Barth's video 'Stop throwing away your old broken phone'. With 12,100 subscribers, that single video pulled 379,457 views, which is 31.4 times the channel size. The focus is entirely on clear storytelling over hardware.

632,677 views on a channel with 304,000 subscribers, 2.1 times its size.
Similarly, Nidhi Mishra created 'Stop Showing Your Face Make Educational Videos This Way', reaching 632,677 views. Educational and faceless videos rely on your voice to guide the viewer through each graphic.
If you plan to launch a no-camera project, check our guide on how to start a faceless YouTube channel to understand how voice and pacing fit together.
How to Deliver Your Script Without Sounding Like a Robot
When people sit in front of a live microphone, their brains suddenly convince them they are an automated railway station announcer. They speak in a stiff, monotone hum.
To keep your narration lively, write the way you talk. Before you hit record, review our tips on how to write a YouTube script with short sentences and natural pauses.

Try these small delivery tricks during your next session:
- Smile slightly as you speak: it physically changes the shape of your mouth and warms up your tone.
- Stand up instead of slouching: standing gives your lungs more air and keeps your vocal energy high.
- Talk to one specific friend in your head rather than addressing a crowd of strangers.
- Leave a three-second silence whenever you mess up, then re-read the sentence: this makes editing fast.
Free Audio Editing: The 5-Minute Cleanup
Raw audio straight off any microphone sounds a bit quiet and raw. You can turn a good voice recording into broadcast gold using Audacity, which is free and open-source.
You do not need an audio engineering certificate. Run this exact four-step chain on your recorded vocal track:
- Noise Reduction: highlight three seconds of silence at the start to grab a noise profile, then apply gentle reduction (6dB to 10dB) across the file.
- Equalization (EQ): apply a bass roll-off below 80Hz to eliminate desk bumps, and boost highs around 5kHz slightly for clarity.
- Compressor: set a mild threshold (-14dB) to pull loud screams down and boost quiet whispers up to an even level.
- Loudness Normalization: set your final output to -14 LUFS, which is the standard target for YouTube audio loudness.
Once your dialogue track is clean, you can layer subtle background music underneath. We covered that workflow in our guide on how to do sound design for YouTube videos.
Turning Your Recorded Track Into a Video
Once you have an MP3 or WAV file of your voiceover, your next job is matching visuals to the audio track. For many creators, finding stock footage and slicing b-roll takes ten times longer than speaking.
If drawing and editing every scene by hand sounds exhausting, you can use Naravid. It turns your voiceover and script into an illustrated or animated video automatically, freeing you to focus on your next episode.
Useful links
- Audacity Free Audio EditorThe best free, open-source audio workstation for editing YouTube voiceovers on Windows and Mac.
- YouTube Creators Official ChannelOfficial tips and best practices directly from YouTube on content structure and audio standards.
- Reddit NewTubers CommunityA helpful forum where small creators review each other's microphone setups and audio clarity.
- CapCut Video EditorA beginner-friendly video editor that lets you easily align audio tracks with visuals and captions.
Questions people ask
Can I record a good YouTube voiceover with an iPhone or Android phone?
Yes, modern smartphone microphones are capable of recording clear voiceovers. Place the bottom microphone four to six inches from your mouth, point it toward your cheek, and record inside a quiet, blanketed room.
Should I record voiceover before or after editing the video?
Always record your voiceover before editing your video. Your spoken voice sets the rhythm, timing, and cuts of the visuals, making the video editing process much faster and smoother.
What is the best free software to record voiceovers for YouTube?
Audacity is the top free choice for recording and polishing voiceovers on PC and Mac. If you prefer recording directly inside your video editor, DaVinci Resolve and CapCut also offer built-in voiceover recording tools.